

After a number of public betas and a recent benchmark tool, Capcom’s latest entry in the Monster Hunter franchise is here at long last. Monster Hunter Wilds sticks to the tried and tested formula that’s been the hallmark of the series’ 20-year run: accept questions to hunt and vanquish monsters, collect the dropped loot, use it to get better gear, rinse and repeat.
Something that is new is the software development kit used to create the game. Where Monster Hunter: World runs on the evergreen MT Framework, Capcom employed its proprietary RE Engine for Monster Hunter Wilds, last used to power Dead Rising Deluxe Remaster and Dragon’s Dogma 2. The latter was almost certainly used as a template for coding Wilds, because not only are they both open world designs, but they’re also very similar in terms of looks.
Unfortunately, they’re also similar in how well they run, though Monster Hunter Wilds is far less of a CPU hog than Dragon’s Dogma 2 is. The minimum system requirements are very light—e.g. Ryzen 5 3600 with a GeForce GTX 1660—but for some reason, Capcom qualifies the requirements, in all cases, with the caveat of frame generation being used.
I can say right now that frame generation isn’t a must, as one can get a reasonable enough level of performance without using it. However, upscaling certainly is, and I’ll explain why in a moment. There is an enormous array of graphics settings one can tweak but Monster Hunter Wilds doesn’t run super fast, even on high-end PC hardware, and many of the settings barely make any difference to the frame rate.
Although I’ve gone through and tested every single one of them, nobody could be expected to wade through them all just to have an enjoyable gaming experience.
So to find out what settings are worth changing, I’ve used four different PCs and run countless loops in the starting zone. While these PCs can’t cover every possible combination of CPU, RAM, and graphics card, they should give you a good enough idea as to what you can do on your gaming PC to have the best balance of graphics and frame rate.
You can, of course, get a rough idea by using Capcom’s Monster Hunter Wild benchmark tool, just like we did. However, the tool focuses more on the cutscenes than the game world itself, so it loads up the GPU rather than the CPU—once you’re out and about hunting and slaying monsters, you’ll soon notice that your central processor is being worked pretty hard.
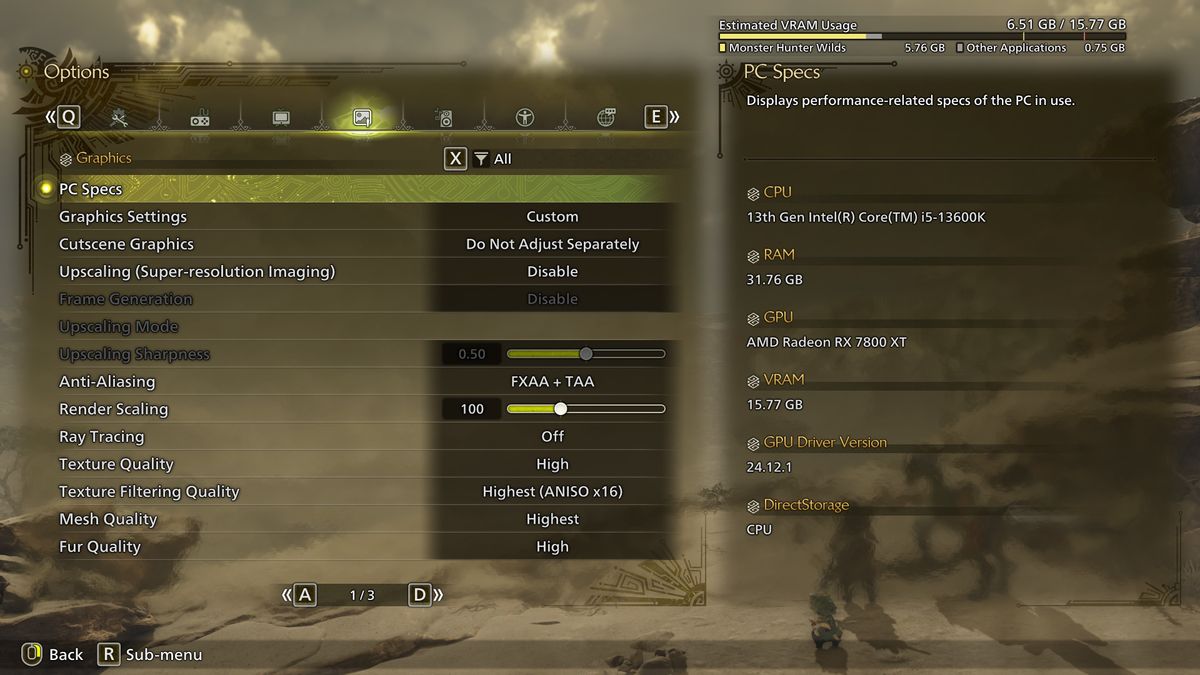
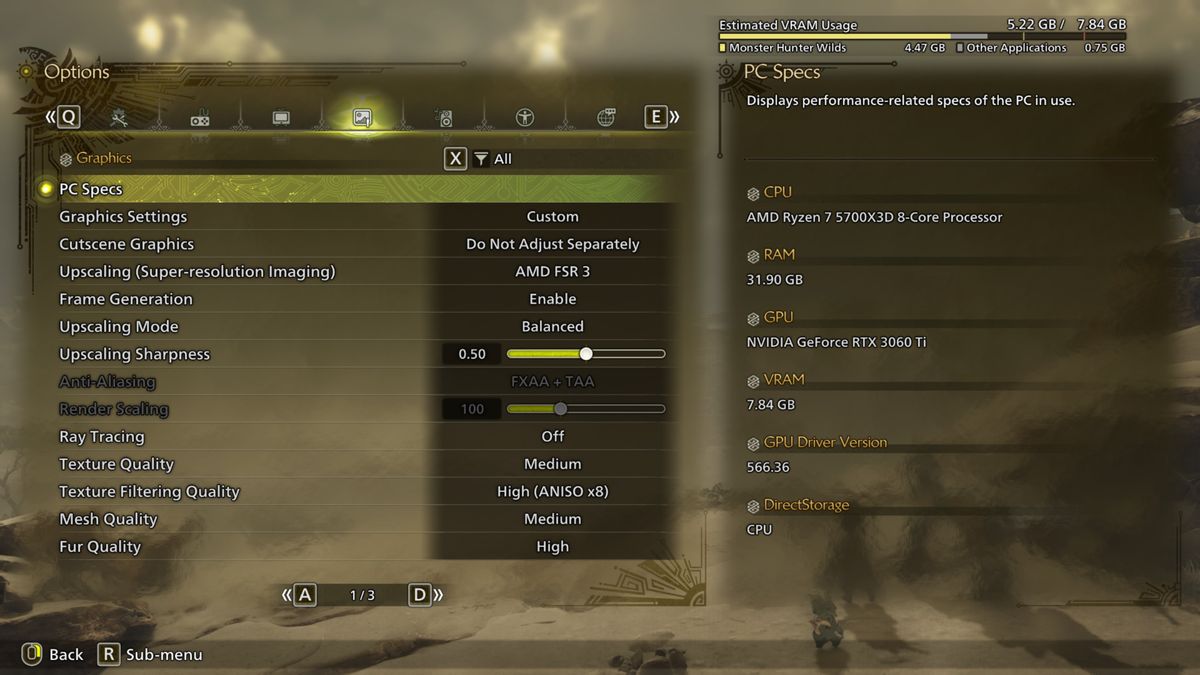
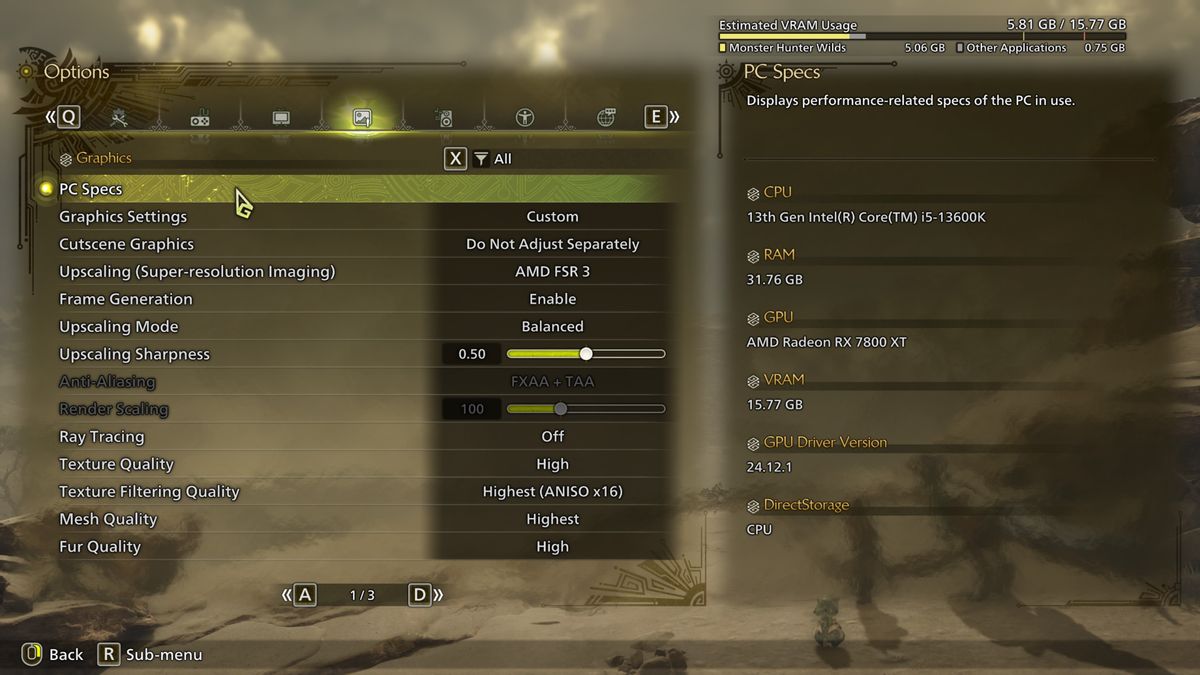
Test PC specs
These four gaming PC configurations were set up to roughly represent rigs levels that match Capcom’s suggest specifications. The entry-level PC has a slight older CPU than the minimum required but the GPU is a little better.
The budget PC is towards the top end of that categorisation, due to the use of the Ryzen 7 5700X3D, but the RTX 3060 Ti stops it from being too over-powered. The graphics cards in the mid-range and high-end PCs are the obvious reason as to why these machines are in those categories.
Monster Hunter Wilds performance
To get an idea of the best possible performance one can get in Monster Hunter Wilds, I set every graphics option to its lowest value. In some cases, this meant disabling a feature, such as anti-aliasing, depth of field, or water effects, but for the most part, it just reduces the level of quality of a particular rendering effect.
The first thing to note in the above results is just how much of an impact resolution has on the average frame rate, even on minimum graphics settings. The RTX 4080 Super rig only drops 10% in average performance going from 1080p to 1440p, but jumping all the way to 4K knocks 50% off the frame rate.
However, the 1% low frame rate is barely affected by the change in resolution, though one would expect this with an RTX 4080 Super. The Radeon RX 5700 XT system’s 1% lows decreased by 40% going from 1080p to 4K, but that’s par course for a graphics card that’s five years old and was never marketed as being for 4K gaming, even at launch.
Switching all of the graphics options to their highest values, but without upscaling, frame generation, and ray tracing enabled, sees a surprising variation in the reduction in performance. The RTX 3060 Ti rig at 1080p, for example, only drops in average performance by 27%, whereas the 1% lows reduce by 38%.
It’s a similar pattern with the other test rigs—the RTX 4080 Super PC drops 25% in average frame rate at 4K, with the 1% lows falling by 31%.
If one compares the two videos above, the improvements in the graphics aren’t substantial enough to warrant the performance drops. The draw distance and quality of shadows are both much better, but objects, textures, and lighting don’t seem a whole lot better. That’s partly because the open-world areas are relatively sparse in nearby detail—it’s only in cutscenes and village/base locations that one can easily tell the difference.
Naturally, the best settings to use on any particular system are going to be somewhere between all-minimum and all-maximum, so let’s take a look at what Monster Hunter Wilds offers in terms of graphics tweaking.
Graphics options
Image 1 of 4
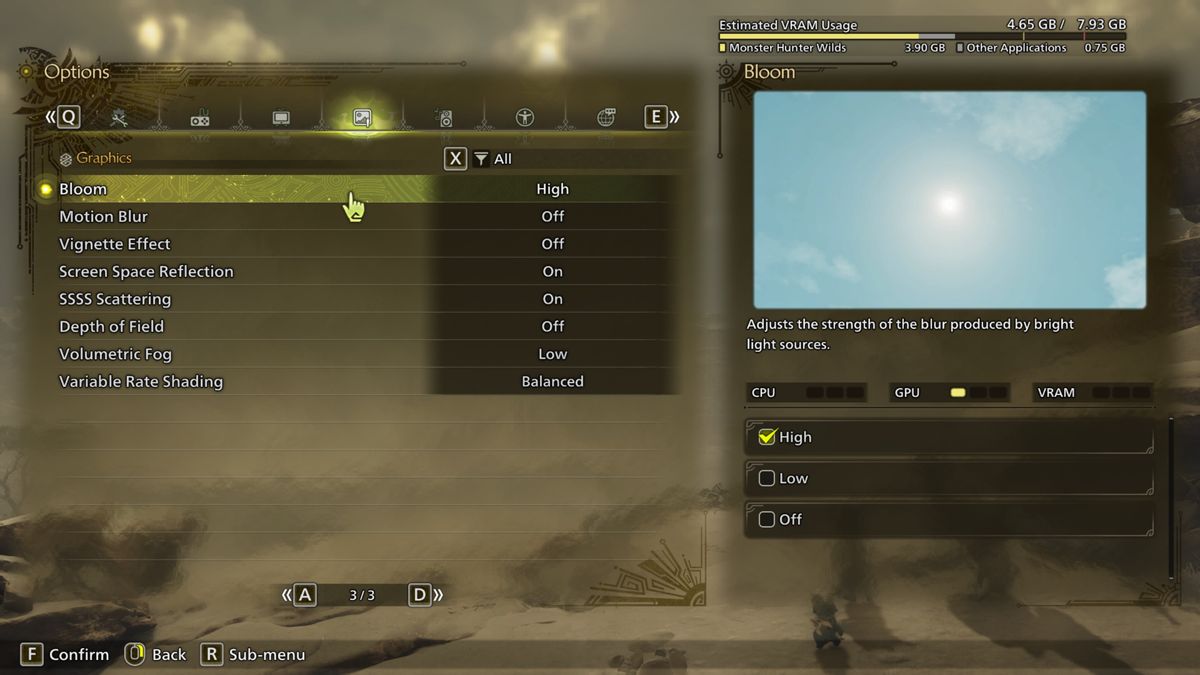
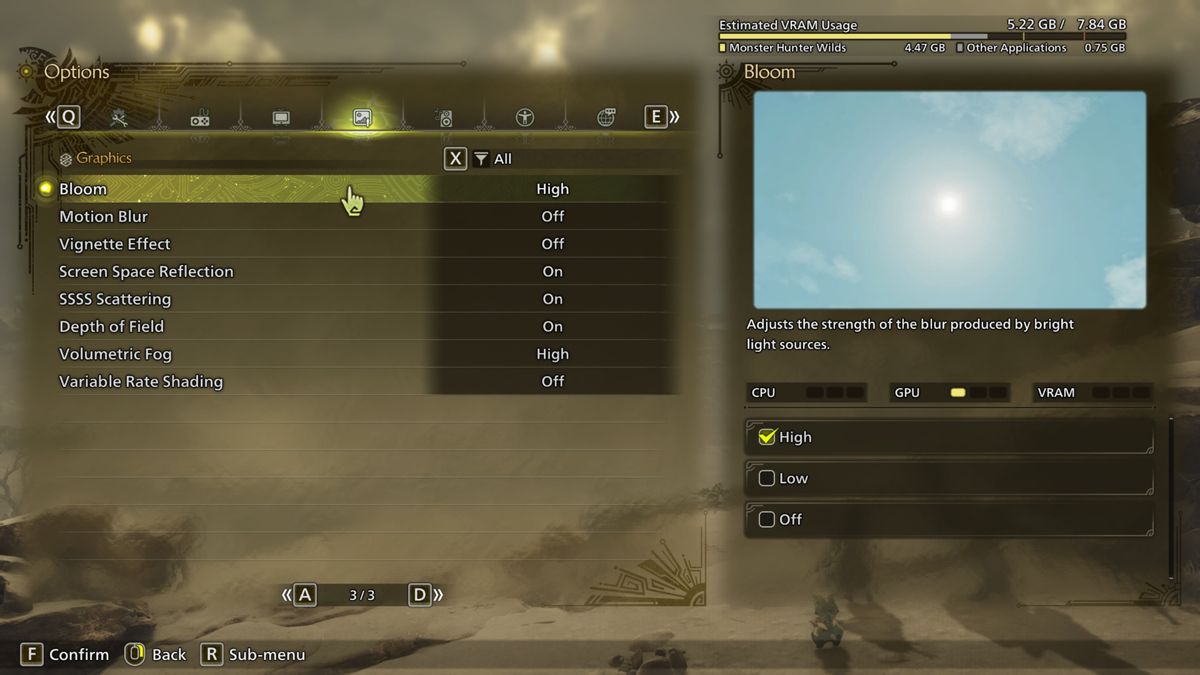
Ignoring things like resolution, aspect ratio, and Vsync, there are 27 individual graphics options to play around with. I would argue that this is far too many to be dealing with but at least a good number of them don’t have a big impact on performance, even on the RX 5700 XT test rig, and they’re best thought of as personal taste options.
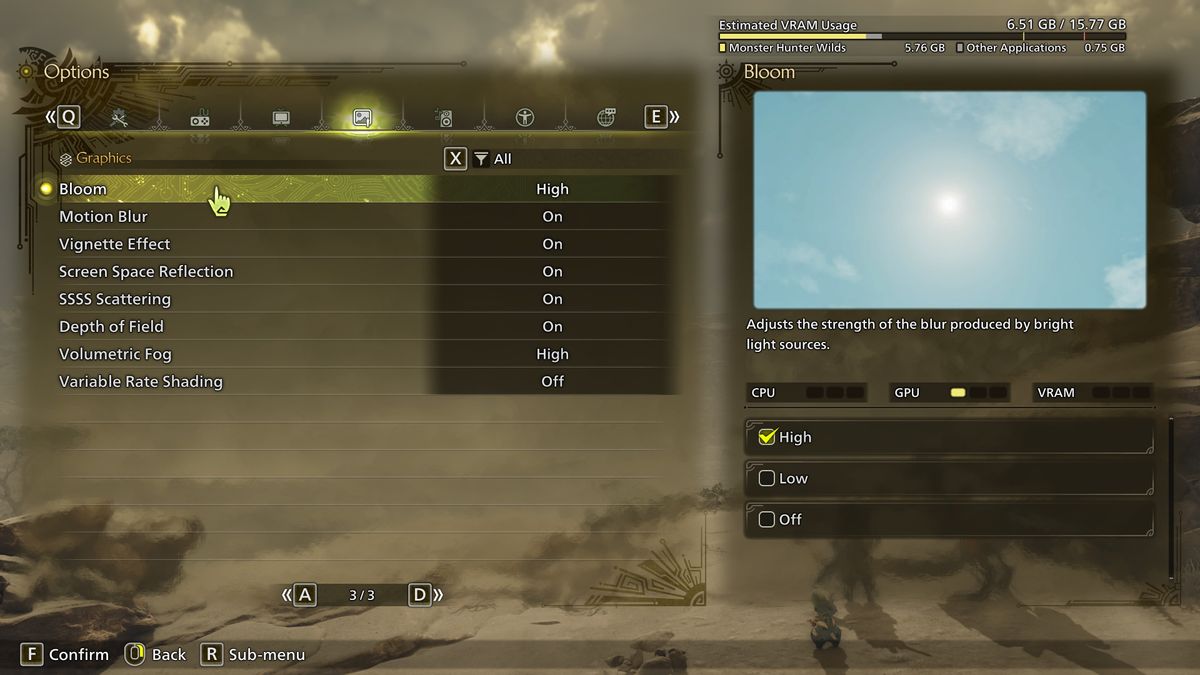
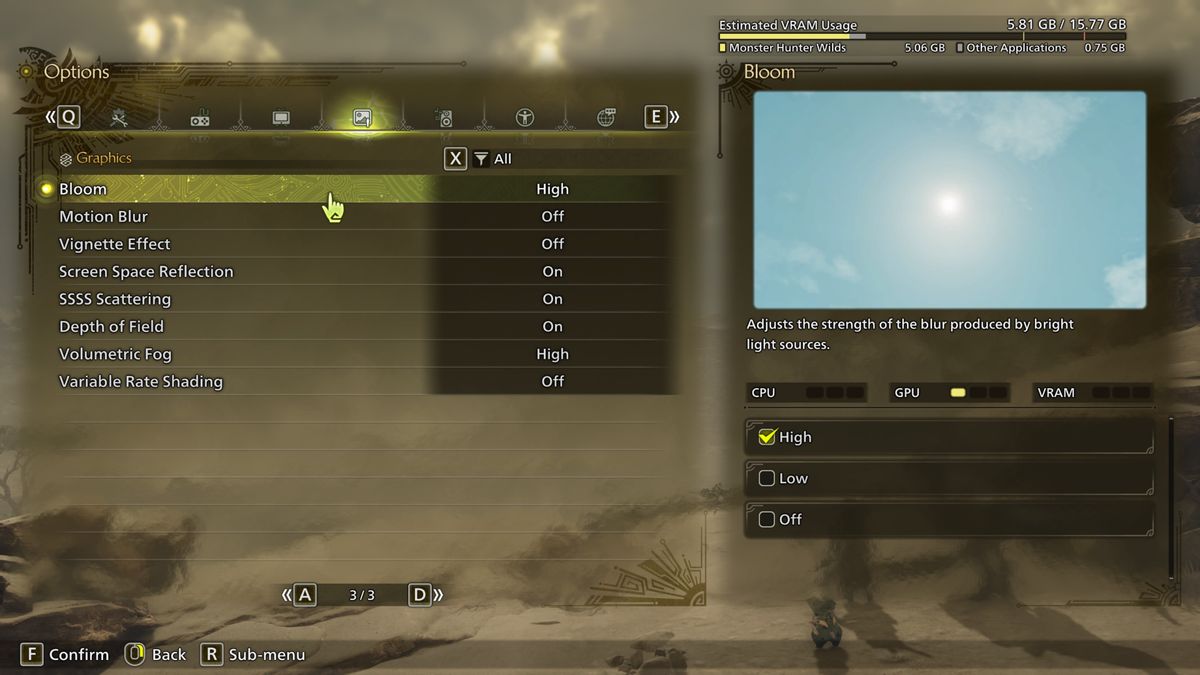
For example, motion blur, vignette effect, and depth of field can all be used with a minimal loss in frame rate, but I preferred having them disabled. The first and last are reasonably well implemented, and the vignette effect is fairly subtle, but they arguably don’t make things look all that better.
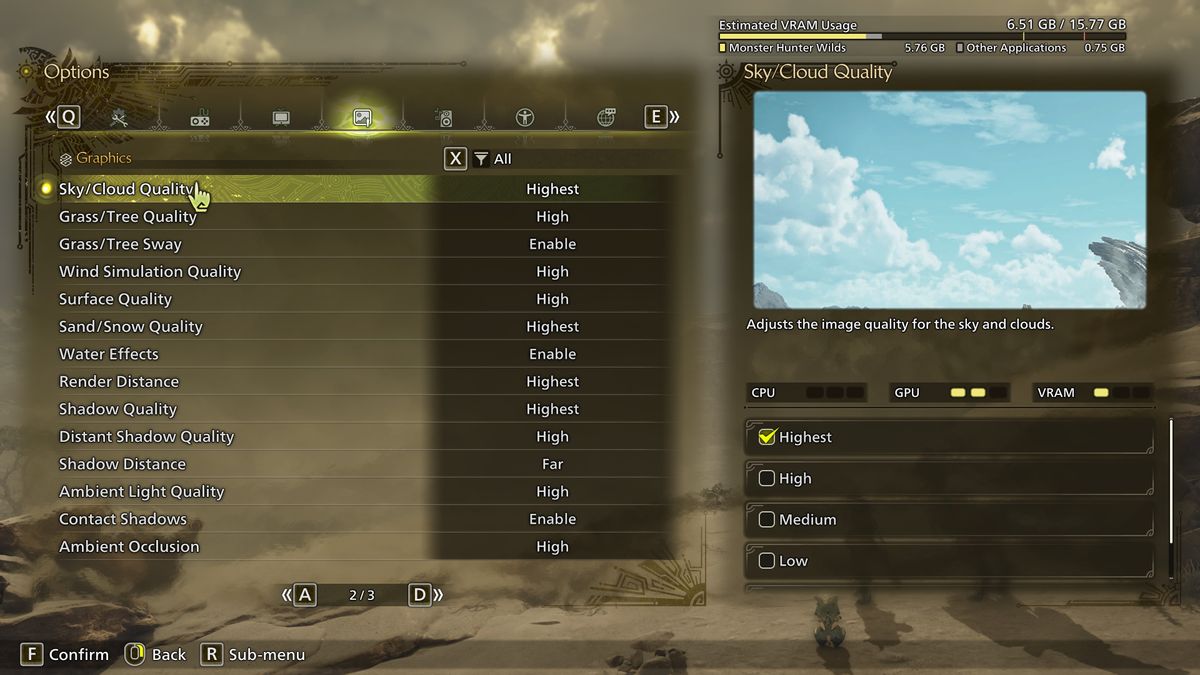
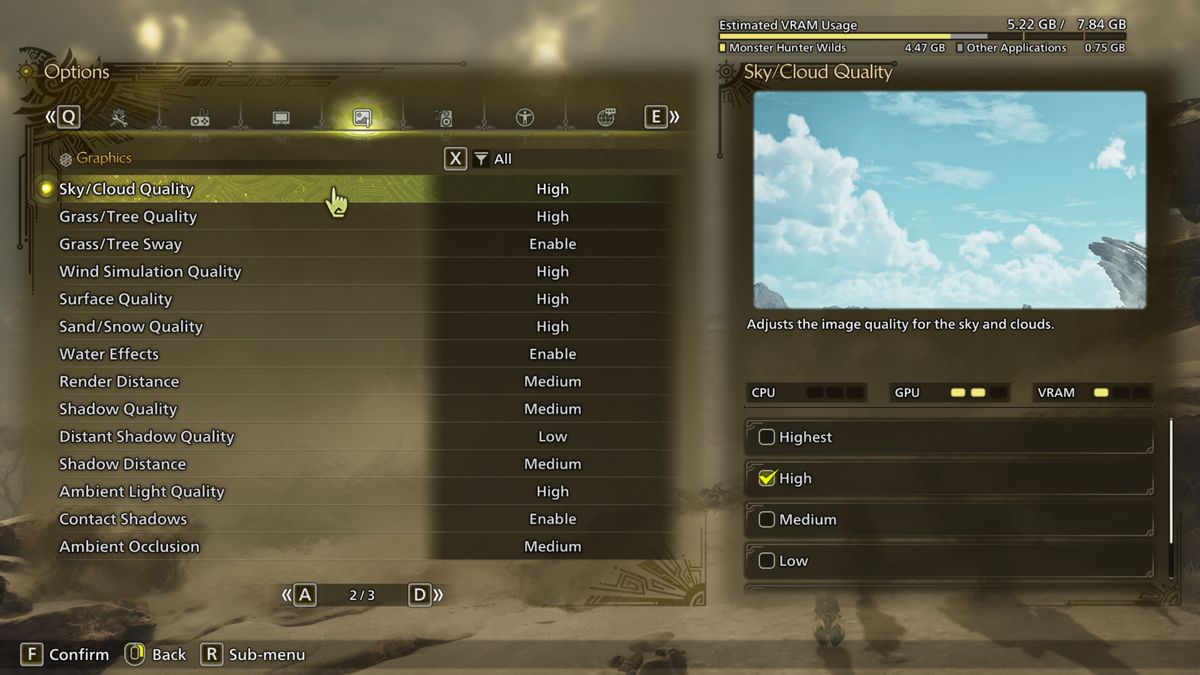
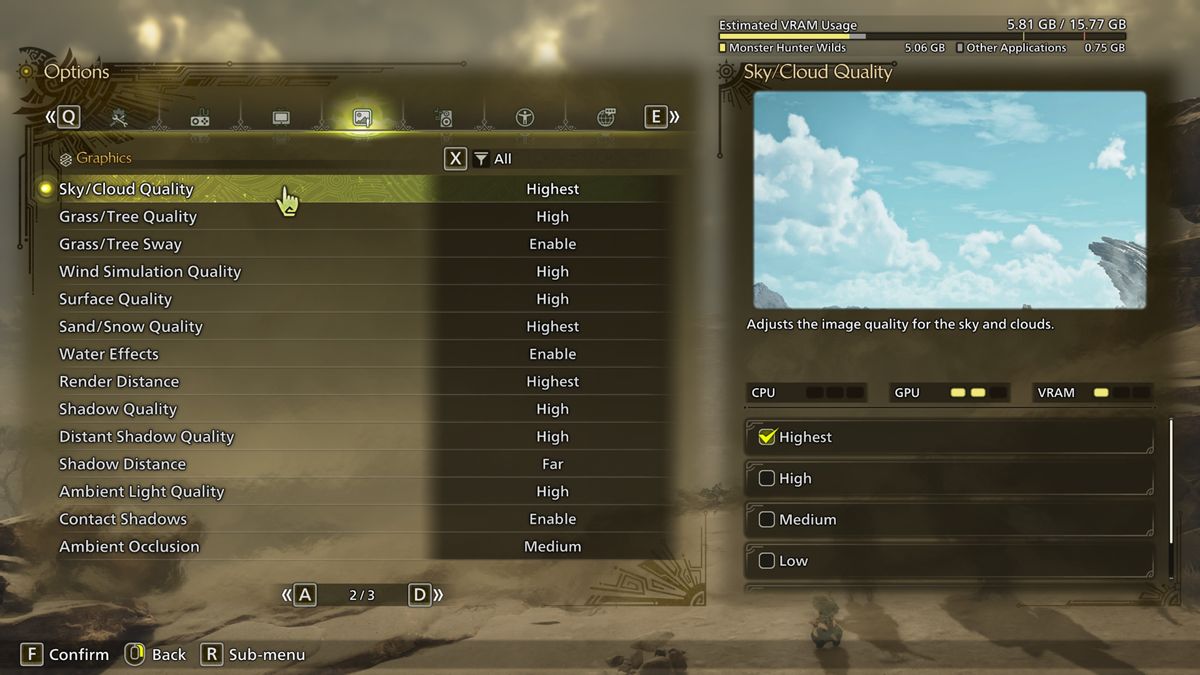
It’s a similar situation with mesh quality, fur quality, wind simulation quality, surface quality, and distant shadow quality. These all look fine on their lowest settings (though many are just low or high) and it’s only in cutscenes that the differences between the settings really stand out.
The settings that have the biggest impact on performance are texture quality; sky, tree, and sand quality; shadow quality; render distance; shadow distance; ambient light quality; and ambient occlusion. However, the performance changes you’ll get from switching these about will depend very much on what hardware you have.
So here are the best settings I discovered for each of the tested PCs.
Best settings for an entry-level gaming PC
Image 1 of 3

🔼 Click to see a full table of the settings 🔼
|
Resolution |
1080p |
|
Upscaling |
FSR 3.1 Balanced |
|
Frame gen |
Disabled |
|
Texture quality |
Low |
|
Texture filtering quality |
Medium (ANISO x4) |
|
Mesh quality |
Medium |
|
Fur quality |
Low |
|
Sky/Cloud quality |
Medium |
|
Grass/Tree quality |
Medium |
|
Grass/Tree sway |
Disabled |
|
Wind simulation quality |
Low |
|
Surface quality |
High |
|
Sand/snow quality |
Medium |
|
Water effects |
Enabled |
|
Render distance |
Medium |
|
Shadow quality |
Medium |
|
Distant shadow quality |
Low |
|
Shadow distance |
Near |
|
Ambient light quality |
Medium |
|
Contact shadows |
Enabled |
|
Ambient occlusion |
Medium |
|
Bloom |
High |
|
Motion blur |
Disabled |
|
Vignette effect |
Disabled |
|
Screen space reflections |
Enabled |
|
SSSS scattering |
Enabled |
|
Depth of field |
Disabled |
|
Volumetric fog |
Low |
|
Variable rate shading |
Balanced |
If you’re wondering how I managed to get better performance compared to using all minimum settings, the key is the use of FSR 3 Balanced. Upscaling greatly reduces the number of pixels that require processing and it gives the RX 5700 XT a lot more breathing room.
You might be tempted to increase some of the settings to have the GPU pegged at 100% utilization all the time but doing so just pulls the 1% lows right down. It took a significant amount of experimenting with the settings just to get it to the state shown in the video, but it’s not too bad. For the most part, the performance is quite smooth, although it dips quite a bit if the screen fills up with objects.
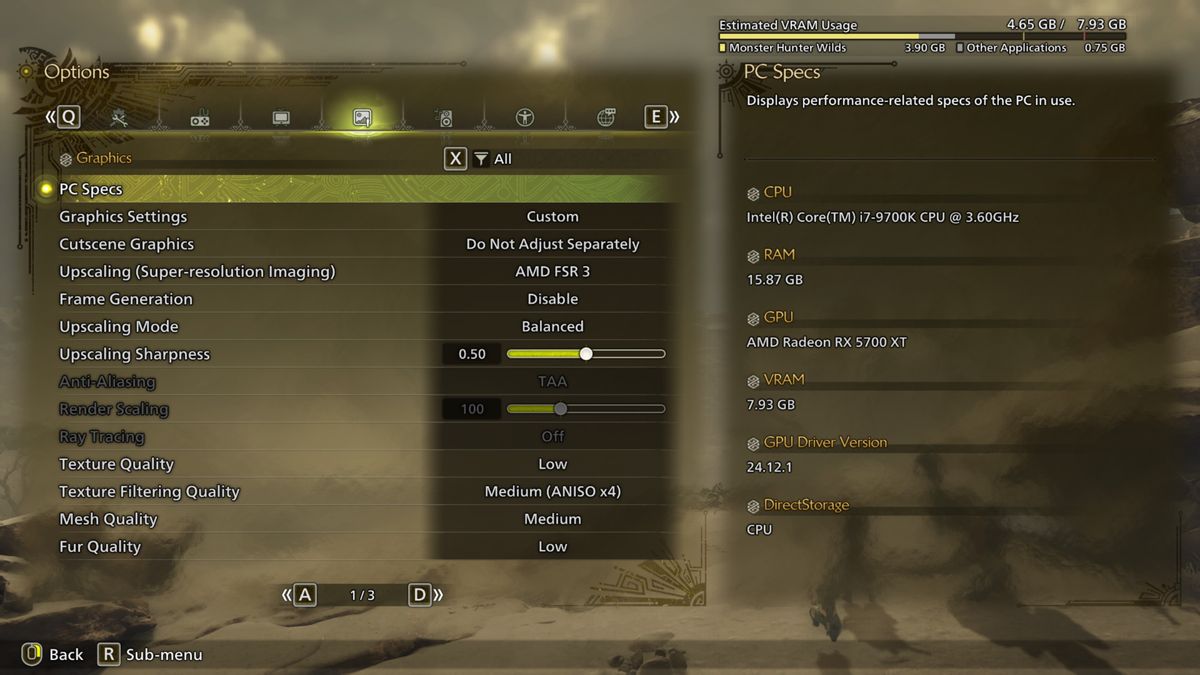
Note that frame generation is not being used here. It does work and the indicated average performance is better but the 1% lows barely change. That’s because the Core i7 9700K is on par with Capcom’s recommended minimum CPUs and it somewhat struggles in this game. The shader compilation process, during the very first boot of the game, took an alarming 24 minutes to complete, though I hasten to add that it’s less than 20 seconds to do it thereafter.
I did try these settings on an Asus ROG Ally but the only way I could get a consistent 30 fps was by lowering the FSR 3 upscaling to Performance and enabling frame generation. It also required the handheld device to run in its 25 W mode—the battery-friendly 17 W mode couldn’t sustain anything more than 18 fps.
Best settings for a budget gaming PC
Image 1 of 3
🔼 Click to see a full table of the settings 🔼
|
Resolution |
1080p |
|
Upscaling |
FSR 3.1 Balanced |
|
Frame gen |
Enabled |
|
Texture quality |
Medium |
|
Texture filtering quality |
High (ANISO x8) |
|
Mesh quality |
Medium |
|
Fur quality |
High |
|
Sky/Cloud quality |
High |
|
Grass/Tree quality |
High |
|
Grass/Tree sway |
Enabled |
|
Wind simulation quality |
High |
|
Surface quality |
High |
|
Sand/snow quality |
High |
|
Water effects |
Enabled |
|
Render distance |
Medium |
|
Shadow quality |
Medium |
|
Distant shadow quality |
Low |
|
Shadow distance |
Medium |
|
Ambient light quality |
High |
|
Contact shadows |
Enabled |
|
Ambient occlusion |
Medium |
|
Bloom |
High |
|
Motion blur |
Disabled |
|
Vignette effect |
Disabled |
|
Screen space reflections |
Enabled |
|
SSSS scattering |
Enabled |
|
Depth of field |
Enabled |
|
Volumetric fog |
High |
|
Variable rate shading |
Disabled |
While the RTX 3060 Ti is no longer quite as potent as it was when it first launched, the Ryzen 7 5700X3D is still an excellent gaming CPU. You can tell this by how smooth the frame time graph is in the video—it’s a lot better than that for the 9700K—and the fact that the overall performance is relatively stable.
I was able to have many of the graphics options on a ‘High’ setting, with the exception of mesh quality, render distance, and shadow quality which really need to be kept on ‘Medium’. Going any higher took a sizable bite out of the 1% low frame rate. You might be tempted to ignore big dips in the performance and whack everything on High, but in the case of this test rig, it just makes things too inconsistent to be really enjoyable.
Upscaling is being used, of course, but so too is frame generation. However, despite using FSR 3.1.3, Capcom has chosen to not offer gamers the option to enable DLSS upscaling with FSR frame generation, so I’ve had to use FSR for everything to get this kind of performance. Visually, it’s a pretty good implementation—there is some pixel crawling on distant objects and foliage, but for the most part, it’s fine. Even frame generation looks good.
Best settings for a mid-range gaming PC
Image 1 of 3
🔼 Click to see a full table of the settings 🔼
|
Resolution |
1440p |
|
Upscaling |
FSR 3.1 Balanced |
|
Frame gen |
Enabled |
|
Texture quality |
High |
|
Texture filtering quality |
Highest (ANISO x16) |
|
Mesh quality |
Highest |
|
Fur quality |
High |
|
Sky/Cloud quality |
Highest |
|
Grass/Tree quality |
High |
|
Grass/Tree sway |
Enabled |
|
Wind simulation quality |
High |
|
Surface quality |
High |
|
Sand/snow quality |
Highest |
|
Water effects |
Enabled |
|
Render distance |
Highest |
|
Shadow quality |
High |
|
Distant shadow quality |
High |
|
Shadow distance |
Far |
|
Ambient light quality |
High |
|
Contact shadows |
Enabled |
|
Ambient occlusion |
Medium |
|
Bloom |
High |
|
Motion blur |
Disabled |
|
Vignette effect |
Disabled |
|
Screen space reflections |
Enabled |
|
SSSS scattering |
Enabled |
|
Depth of field |
Enabled |
|
Volumetric fog |
Low |
|
Variable rate shading |
Disabled |
FSR 3 upscaling and frame generation come to the rescue again with the RX 7800 XT test rig. Here I could use ‘High’ or ‘Highest’ settings almost everywhere at 1440p, except ambient occlusion, which I kept at medium. The loss in visual fidelity is barely noticeable and it gives the 1% lows a healthy boost.
For the review period of Monster Hunter Wilds, the maximum setting for texture quality wasn’t available. That’s because it will appear in the form of a 75 GB DLC and while none of the tested graphics cards ran into VRAM issues, you can be sure that the highest texture setting is only going to be usable on graphics cards with lots of fast RAM.
I don’t think any GPU will be using more than 16 GB of VRAM with the DLC, but since increasing the texture quality really works the memory bandwidth, you’ll probably need a GPU with fast memory to make the most of the high resolution texture pack.
Best settings for a high-end gaming PC
Image 1 of 3


🔼 Click to see a full table of the settings 🔼
|
Resolution |
4K |
|
Upscaling |
DLSS 3.7 Performance |
|
Frame gen |
Enabled |
|
Texture quality |
High |
|
Texture filtering quality |
Highest (ANISO x16) |
|
Mesh quality |
Highest |
|
Fur quality |
High |
|
Sky/Cloud quality |
Highest |
|
Grass/Tree quality |
High |
|
Grass/Tree sway |
Enabled |
|
Wind simulation quality |
High |
|
Surface quality |
High |
|
Sand/snow quality |
Highest |
|
Water effects |
Enabled |
|
Render distance |
Highest |
|
Shadow quality |
High |
|
Distant shadow quality |
High |
|
Shadow distance |
Far |
|
Ambient light quality |
High |
|
Contact shadows |
Enabled |
|
Ambient occlusion |
High |
|
Bloom |
High |
|
Motion blur |
Disabled |
|
Vignette effect |
Disabled |
|
Screen space reflections |
Enabled |
|
SSSS scattering |
Enabled |
|
Depth of field |
Enabled |
|
Volumetric fog |
High |
|
Variable rate shading |
Disabled |
This was the test rig that was the hardest to get right in terms of quality settings and it’s all down to the Core Ultra 7 265K. At 4K, with DLSS 3.7 Performance and Frame generation, the RTX 4080 Super easily coped with using almost every setting at its maximum value, but as you can see in the above video, not only is the GPU utilization under 100% at all times but the power consumption is way off the card’s 320 W maximum.
As hard as I tried, I could never get the 1% lows to go over 60 fps, whilst still retaining maximum quality settings. If this is important to you, then the settings to lower are shadow quality, render distance, and shadow distance. However, if one has a better gaming CPU than a 265K paired with a high-end graphics card, then this will probably not be an issue.
If you read this far, you’ll have noticed that there is one graphics option that I haven’t mentioned: ray tracing. In Monster Hunter Wilds, ray tracing is only used to improve the quality of water reflections but the performance hit simply isn’t worth the few moments one has staring at a lake and seeing the world accurately reflected.
The same is true of the anti-aliasing options. One can disable it altogether (though you absolutely shouldn’t do this) or select from TAA (temporal anti-aliasing) or TAA with FXAA (a shader routine that improves the quality of edges). None of them is anywhere near as good as what DLSS, FSR, and XeSS produce and in the case of all three upscalers, if you have the performance to spare, you can switch them to an AA mode for even better looks.
However, given how much resolution affects the game’s performance, I strongly suggest using upscaling at all times, unless you happen to have a Ryzen 7 9800X3D paired with an RTX 4090 or 5090. With upscaling and where possible, frame generation, Monster Hunter Wilds does run pretty well but the fact that these graphics features are required for decent performance won’t be pleasing to many a PC gamer.


